
At its core, creating a 3D model is all about turning an idea into a digital, three-dimensional object using specialised software. The whole process starts with building a 'mesh'—a sort of digital skeleton made of points, lines, and faces. From there, you refine and add textures to bring it to life, creating anything from detailed game characters to stunning architectural visualisations. Getting a handle on this skill is your ticket into a massive range of creative and technical fields.
Your First Steps into the World of 3D Modelling
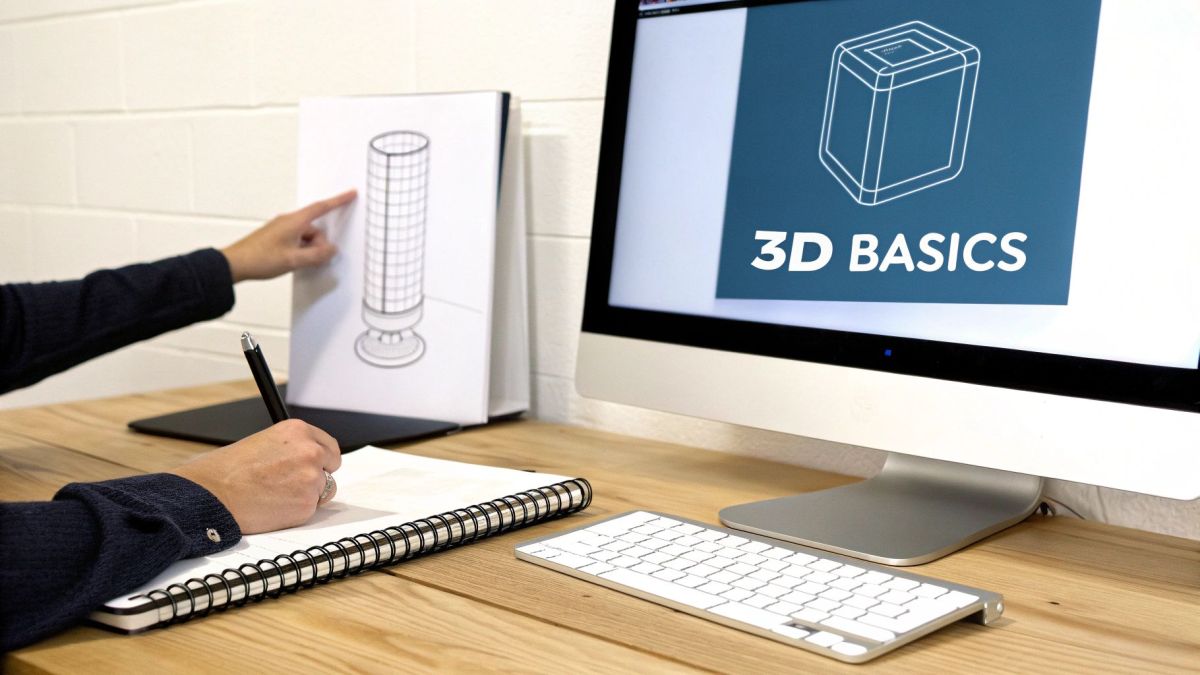
Diving into 3D for the first time can feel a bit like learning a new language, but the basic concepts are actually quite simple. A 3D model is really just a digital object constructed from a few simple parts in a virtual space. The best way to think of it is like digital sculpting. You start with a basic lump of clay (we call this a 'primitive shape') and slowly mould it into something recognisable.
These digital creations are the backbone of so many industries, well beyond just entertainment. Here in Australia, for instance, the 3D animation market—which is completely built on these models—pulled in over USD 817.5 million in 2023 alone. That figure really drives home just how essential this skill has become in today's creative economy.
Understanding the Different Modelling Approaches
Not all 3D models are built the same way. The technique you choose will really depend on what you’re trying to create. Getting to know the main methods will help you pick the right tool for the job.
- Polygon Modelling: This is the one you'll see most often, especially in games and animation. It involves building your object by manipulating a mesh of vertices (points), edges (lines), and faces (polygons). Think of it as a high-tech game of connect-the-dots in a 3D environment.
- NURBS Modelling: This one sounds complicated, but the name—Non-Uniform Rational B-Splines—just describes a method that uses flexible curves to create incredibly smooth and precise surfaces. It's the go-to for industrial design, where accuracy is king, like when modelling a new car or a sleek product casing.
- Digital Sculpting: This is exactly what it sounds like: working with digital clay. It's a much more organic and intuitive approach, letting you push, pull, pinch, and smooth a high-polygon mesh. It’s perfect for creating highly detailed characters, creatures, and natural-looking environments.
Essential Terms You Need to Know
When you first start out, you're going to come across a lot of specific jargon. Don't let it scare you. Getting your head around these terms will make watching tutorials and navigating software menus feel a lot less intimidating.
Key Takeaway: Don't get bogged down by all the new terminology. The important thing is to understand the 'why' behind each concept. Clean topology, for example, isn't just some technical rule—it's what allows a model to animate smoothly and look professional.
A few key terms you'll hear a lot are vertices, which are the individual points that form your model's skeleton, and topology, which is how the polygons are arranged and flow across the surface. Good topology is absolutely critical for animation.
Finally, there’s UV mapping. This is the process of unwrapping your 3D model into a flat, 2D map so you can paint textures onto it. The classic analogy is peeling an orange and laying the skin flat. To see what's possible and get some great ideas, it's worth checking out some creative 3D print projects.
Choosing the Right 3D Modelling Software for You
Picking your 3D modelling software is a bit like a craftsperson choosing their primary set of tools. It’s the first big decision you'll make, and it sets the stage for your entire creative process. What you choose really comes down to what you want to do, whether that's 3D printing, dreaming up game worlds, or creating architectural visualisations.
The software is your digital workbench, so you need one that feels right for the job. Don't just get caught up in flashy feature lists; think about the community around the software, how many tutorials are out there, and what the tool was fundamentally designed for.
Here’s a look at the main interface for Blender, one of the most popular free options on the planet.
This might look a little intimidating at first, but it shows you the professional-grade power you can get without spending a dollar. You've got your 3D viewport, a timeline for animation, and all your property panels right there.
Software for Different Ambitions
If you’re just starting out and want a powerful, do-it-all package, Blender is the hands-down winner. It’s completely free and can handle everything from sculpting and animation to rendering. Plus, it has a massive, helpful online community, meaning you’ll never be short of tutorials.
But what if you're more interested in creating precise, functional parts for engineering or product design? That’s where a parametric modeller is a much better fit. A program like Autodesk Fusion 360 lets you build models based on exact dimensions. The real beauty here is that it's non-destructive—you can always go back and change a single measurement without having to tear your whole model apart and start again.
This kind of precision isn't just a nice-to-have; it's critical in many professional fields. The Australian 3D rendering market was valued at a whopping USD 75.5 million in 2024, and the software itself accounted for 85.3% of that revenue. This just goes to show how vital the right tools are, particularly in industries like construction where parametric software is essential for creating dimensionally accurate models. You can dive deeper into these numbers in this report on the AU 3D rendering market.
Choosing the right software can feel overwhelming, so I've put together a quick comparison to help you see how some of the most popular options stack up.
Comparison of Popular 3D Modelling Software
| Software | Primary Use | Cost (AU) | Best For |
|---|---|---|---|
| Blender | General-purpose (modelling, sculpting, VFX) | Free (Open Source) | Beginners, indie developers, and generalists on a budget. |
| Autodesk Maya | Animation, rigging, and visual effects | ~$290/month or ~$2,330/year | Professional animators, VFX artists, and film/game studios. |
| Fusion 360 | Product design, engineering, 3D printing | Free for personal use; ~$855/year for commercial | Engineers, product designers, and hobbyists needing precision. |
| ZBrush | Digital sculpting and organic modelling | ~$58/month or ~$1,280 perpetual licence | Character artists, creature designers, and digital sculptors. |
This table should give you a good starting point. Remember, the "best" software is the one that best fits your specific goals and budget.
Industry-Standard Specialised Tools
Once you've got the basics down, you might start looking at software that really excels at one particular thing.
For creating incredibly detailed organic models—think characters, creatures, and intricate sculptures—nothing really touches ZBrush. It's the industry benchmark for digital sculpting, giving artists the freedom to work with millions of polygons as if they were moulding digital clay.
On the other hand, if your true passion lies in animation and visual effects for film or games, Autodesk Maya has long been the heavyweight champion. Its deep and powerful toolsets for rigging and animation are what bring so many characters in blockbuster movies to life.
My Advice: If you're new to all this, start with Blender. It’s free, it’s versatile, and it will teach you the core principles that apply to all 3D software. Once you've got a handle on the fundamentals and know what you truly enjoy creating, you can then confidently decide whether to invest your time and money into a more specialised program.
Your First Project: A Practical Walkthrough
Alright, theory is great, but let's be honest—the real learning happens when you start making things. So, with your software chosen, it’s time to roll up your sleeves and get modelling.
We're going to start with a classic beginner project: a simple coffee mug. It might sound a bit basic, but it’s the perfect way to learn several core techniques without feeling overwhelmed. It covers the fundamentals you'll use on almost every project.
A key habit of professional artists, and one we’ll start with, is setting up reference images. Trying to model from memory is a rookie mistake. Using real-world photos as a guide will keep your proportions accurate and your final model looking believable. After that, we’ll jump into a technique called box modelling, which is a go-to method for creating all sorts of hard-surface objects.
The overall process is pretty straightforward: you have an idea, you use the software to build it, and you end up with a finished model.

This image sums it up nicely. We’re moving from ambition to creation, and the software is our bridge.
Shaping the Main Body
First things first, we need a basic shape to start with. In 3D, we call these 'primitives'. For our mug, a simple cylinder is the perfect starting point. Drop one into your scene, and then start scaling and shaping it to match the height and width of your reference photos.
Now, a mug needs to hold coffee, so we have to hollow it out. To do this, you’ll select the top face of the cylinder and use an inset tool. This creates a new, smaller face inside the original one. From there, you just extrude that new face downwards, pushing it into the cylinder to carve out the inside. It’s a simple but incredibly powerful technique you'll use constantly.
My Personal Tip: Don't get hung up on making it perfect on your first go. Seriously. The goal here is to get a feel for the workflow and how the tools connect. Your first mug will probably be a bit wonky, and that’s completely okay. Every single 3D artist has a graveyard of weird-looking first projects.
Creating the Handle and Adding Detail
With the body sorted, it's time for the handle. The most common way to tackle this is by selecting a couple of faces on the side of the mug and extruding them outwards. You won't do this in one go; it's a series of smaller extrusions. You'll extrude, rotate a bit, scale a bit, and repeat, creating a nice curve that loops back to connect with the mug.
Once the basic form is there, it's all about refinement. This is where you’ll learn about adding a bevel to sharp edges, like the rim of the mug and the handle. Beveling essentially smooths out those hard corners. It’s a tiny detail that makes a massive difference because it catches the light more realistically when you render the final image.
Here are a couple of other things to keep in mind as you work:
- Clean Topology: Pay attention to how the lines of your mesh (the polygons) flow. Good topology follows the shape's contours, like lines on a map. It makes your model easier to work with and deform later on.
- Modifiers: Most software has non-destructive tools called modifiers. For instance, a subdivision surface modifier is something you'd often add at the end. It instantly smooths out your entire model, turning your blocky work-in-progress into a polished, high-quality object with just one click.
By the time you're done, you'll have more than just a 3D mug. You'll have a real, practical understanding of fundamental tools and a solid foundation to build your skills on. This hands-on experience is the most important part of learning how to create 3D models from scratch.
Mastering Essential Modelling Techniques

Alright, you’ve built your first model. Now it's time to get into the fun stuff—the techniques that will take your work from basic shapes to professional, detailed assets. These core skills are what truly unlock your creative potential, letting you build the complex, organic designs you see in games and films.
One of the most satisfying techniques to learn is digital sculpting. It's exactly what it sounds like: working with digital clay. Instead of pushing and pulling individual points, you use brushes to intuitively mould, smooth, and add detail to a high-density mesh.
This is the secret behind creating anything that feels organic. It’s the go-to method for artists crafting characters, creatures, or natural environments like rocky cliffs and gnarled trees.
Giving Your Model a Skin with UV Mapping
A 3D model is just a grey shape until you give it a surface. To apply textures—like the grain on a wooden plank or the pores on skin—you first need to unwrap it through a process called UV mapping. Think of it like carefully deconstructing a cardboard box to lay it flat.
This flat, 2D version of your model is its UV map. It acts as a blueprint for your textures, where every part of the flat pattern corresponds directly to a surface on the 3D object. Getting this right is absolutely crucial for a believable result.
My Personal Insight: Don't rush your UV unwrapping. I’ve seen so many promising models ruined by distorted, stretched textures caused by messy UVs. Take the time to create a clean, organised layout. It's a habit that will save you countless headaches down the road.
It helps to remember:
- The U and V are simply the names for the horizontal and vertical axes of this 2D space, just as X, Y, and Z define 3D space.
- Once it’s unwrapped, you can paint your textures onto this 2D map, and the software perfectly wraps your work back onto the 3D model.
Optimising Your Work with Retopology
The beautiful, high-detail models you create through sculpting often contain millions of polygons. That's way too heavy for most real-world applications, especially games or animation. This is where retopology comes in.
Retopology is the art of building a clean, low-polygon mesh over your detailed sculpt. This new, optimised mesh captures all the visual detail of the original but is light enough to be animated or run smoothly in a game engine.
A smart workflow some Australian studios use involves sketching basic forms, extruding them into 3D, and then using boolean operations for initial sculpting. This approach alone can cut design time by up to 40%. When you combine this with good retopology practices, you avoid rendering glitches and keep your projects on schedule. You can find more insights into the Australian 3D market that back this up.
Getting a handle on these three techniques—sculpting for detail, UV mapping for textures, and retopology for performance—is a massive leap forward. It’s how you learn to create 3D models that are not just beautiful, but technically solid and ready for anything.
Preparing Your Model for Any Purpose
Creating a detailed 3D model is a huge achievement, but the work isn't quite done. The last, and arguably most important, part of the process is getting your model out of your software and into the real world. This final step is the bridge between your digital creation and its final home, whether that's a game engine, a 3D printer, or an interactive training simulation.
Getting this right ensures all your hard work pays off. A model built for a cinematic render will probably bring a real-time game to its knees, and a game asset just won’t work on a 3D printer without some serious tweaks. Every use case has its own set of technical requirements.
Choosing the Right File Format
One of the first decisions you'll make is what file format to use. This choice determines what information—like colour, animation, and geometry—actually gets saved with your model.
-
.OBJ (Object File): This is the old reliable. It's a versatile and widely supported format, making it a safe bet for static models that just need to hold their shape and look good. It handles geometry and basic material data but doesn't support animation.
-
.FBX (Filmbox): For anything related to games or animation, FBX is the industry standard. Think of it as a complete package that bundles your model's geometry, textures, materials, and even complex animation rigs into a single file. It's the go-to for game engines like Unity and Unreal.
-
.STL (Stereolithography): If you're heading to a 3D printer, STL is the format for you. It simplifies your model into a clean mesh of triangles—exactly what 3D printing software needs to slice your object into layers and print it successfully.
You can think of these formats like saving a document. A simple .txt file is great for plain text, a .docx keeps all your fancy formatting, and a .pdf is designed for universal printing. Each one has a specific job to do.
Optimising for Real-World Use
With your destination in mind, it's time to start optimising.
If you’re aiming for game development, performance is king. This means keeping your polygon count as low as possible. A super high-poly model might look incredible up close, but it will absolutely tank your game's frame rate. This is where you’ll spend time on retopology to create a clean, efficient mesh that performs well in real time.
For 3D printing, the focus shifts from digital performance to physical integrity. You need to make sure your model is "watertight" and structurally sound. Check for issues like paper-thin walls or non-manifold geometry (holes in the mesh). Most slicer software can flag these problems for you, but it’s always better to fix them back in your modelling program.
This prep work is especially crucial in Australia's booming 3D printing market, which is projected to hit AUD 3,844.99 million by 2034. A simple tip from the pros is to ensure a wall thickness of at least 1-2mm to dramatically increase your chances of a successful print. You can find more details about this growing market in Australia.
As you think about where your models could go, it's worth exploring how industries are using them in new ways, like with augmented reality for training your workforce.
Frequently Asked Questions from New 3D Artists
When you're first diving into the world of 3D modelling, it’s natural to have a heap of questions. Everyone wonders about how steep the learning curve is, what kind of gear they really need, and where this path could lead. Let's clear up some of the most common things aspiring artists ask.
The big one is always about time: how long until I'm actually good at this? You can probably get the hang of the basics in a program like Blender in a few weeks, but thinking you'll be a pro in a month is setting yourself up for disappointment. It’s more like learning to play the guitar than learning to use a new app.
Getting to a professional level takes months, sometimes years, of consistent practice. The trick is to keep at it. Finishing small projects regularly will build your skills far more effectively than burning out on one massive, overwhelming piece.
Is 3D Modelling a Good Career?
Without a doubt. Skilled 3D artists are in hot demand, and that demand is growing in fields you might not even expect. It’s a powerful skill that opens doors well beyond the usual suspects of film and gaming.
Here in Australia, the outlook is particularly strong. A 3D modeller in a major city like Sydney or Melbourne can pull in an average of AUD 90,000 a year. We've seen demand jump by 25% year-on-year, thanks in large part to a boom in VR and AR development. The whole Australian 3D animation market is tipped to grow to USD 2,150.2 million by 2030, which gives you an idea of the opportunities out there. You can dig into the numbers in these industry growth projections in Australia.
A huge myth I see all the time is that you need some monster computer to get started. Honestly, most modern computers can handle beginner-level modelling just fine. You only need to think about dropping serious cash on a high-end machine with a beefy graphics card when you’re deep into complex sculpting, 4K texturing, or photorealistic rendering.
Don't let your current setup be an excuse not to start. Your creativity and willingness to learn are your most important tools right now. Focus on mastering the fundamentals, and by the time your skills demand a more powerful rig, you’ll have a much better idea of what you actually need.
At Innoflight International, we live and breathe 3D modelling. It's the foundation for designing and manufacturing our advanced unmanned aerial systems. From heavy-lift drones built for LiDAR mapping to highly specialised agricultural survey platforms, it all starts with precise digital design. See our range of versatile drone solutions at https://evolutionflight.com.