
When it comes to electric motors, the windings are the heart of the machine. Testing them isn't just a routine check; it's a vital health assessment that tells you everything you need to know about the motor's condition. Using tools like multimeters and insulation resistance testers, we can measure the core electrical properties to spot problems like shorts, open circuits, or insulation breakdown before they cause serious trouble.
Why You Can't Afford to Skip Winding Tests
Before you even think about picking up a tool, let's get one thing straight: consistent, accurate winding tests are the difference between a smooth-running operation and a sudden, expensive shutdown. For heavy industries like mining, power generation, and manufacturing, a motor failure isn’t a small hiccup—it’s a production-halting disaster.
Proper testing lets maintenance crews find hidden gremlins long before they escalate into a full-blown catastrophe. This is about more than just fixing what's broken. It's about moving from a reactive, "fire-fighting" repair model to a proactive maintenance culture that saves money, protects your equipment, and makes the worksite a whole lot safer.
The Real Price of "She'll Be Right"
Picture this: a key conveyor motor in a busy manufacturing plant gives up the ghost without any warning. That single failure can stop the entire production line, costing thousands of dollars for every hour of lost output and idle staff. The frustrating part? A simple insulation resistance test a few weeks earlier would have likely picked up the degrading winding insulation, allowing for a scheduled repair during planned downtime.
Ignoring these checks starts a domino effect. A motor struggling with a minor winding fault will often draw more current to try and keep up. This not only drives up your power bill but also creates excess heat, which cooks other components and drastically shortens the motor's life.
Key Takeaway: Think of proactive winding analysis as an investment, not an expense. It's the single best way to prevent catastrophic failures, improve energy efficiency, and get the maximum operational life out of your critical machinery.
Here in Australia, the quality of testing electric motor windings has a direct impact on the bottom line, especially in our demanding heavy industries. We know from experience that motors with poorly wound or damaged coils produce uneven magnetic fields. This leads to hotspots and energy losses that can slash motor efficiency by as much as 10–15%. You can read more on how precision winding boosts performance for Australian businesses.
A proactive approach to testing gives you some massive advantages:
- Prevent Unplanned Downtime: Spot potential failures before they happen, so you can schedule maintenance on your terms, not in a panic.
- Improve Energy Efficiency: A healthy motor runs cooler and uses less power, which means lower operating costs.
- Enhance Safety: Finding and fixing electrical faults early reduces the risk of fires or dangerous equipment malfunctions.
- Extend Equipment Lifespan: Catching small problems stops them from turning into big, irreversible damage.
Your Essential Safety and Tool Checklist
Before you lay a single probe on a motor terminal, let's talk about what really matters: safety. Getting this wrong can have serious consequences, so making sure your work area is secure isn't just a step – it's the absolute first thing you do, every single time.
The gold standard here is a solid Lockout/Tagout (LOTO) procedure. This isn't optional. It’s the process that guarantees the motor is completely dead and can't be fired up by accident while your hands are in there. You need to physically verify the power is off at the source and slap your own personal lock and tag on it.
Personal Protective Equipment (PPE)
Once the machine is safely isolated, it's time to gear up. Working with electricity means you need specific PPE to guard against shock and arc flash—two things you definitely want no part of.
Your non-negotiable kit for this job should include:
- Insulated Gloves: Make sure they're rated for the voltage you’re dealing with and, just as importantly, that they've been recently tested and inspected.
- Safety Glasses or Goggles: A must-have to protect your eyes from flying debris or the flash from an electrical arc.
- Arc-Rated Clothing: Depending on the system's potential fault current, you might need flame-resistant gear. Don't skip this if the risk assessment calls for it.
Here’s a critical step that’s easy to forget: discharge any capacitors in the circuit. These things can store a nasty charge long after you’ve cut the power. Always use a proper discharging tool and follow the procedure before you go anywhere near the terminals. It also helps to build good habits on the fly, and understanding the 'Take 5' safety checklist is a great way to bake that kind of on-the-spot hazard check into your routine.
Your Go-To Testing Toolkit
With the scene safe and secure, you can finally turn your attention to the tools. Using reliable, well-calibrated equipment isn't just about professionalism; it's about getting data you can actually trust.
A word of warning: Bad data from a cheap, out-of-spec meter is worse than no data at all. It can lead you down a rabbit hole, trying to fix a perfectly good motor or, worse, giving a failing motor a clean bill of health right before it lets go.
For winding tests, you really only need two key instruments in your bag:
- Digital Multimeter (DMM): You'll need a quality DMM that can read very low resistance—down into the milliohms range—for your winding resistance checks. I always recommend getting one with a "True RMS" feature; it gives you much more accurate readings on AC circuits, especially if there's other noisy equipment around. If you want to dive deeper into this, you can learn what electromagnetic interference is and how it can throw off your measurements.
- Insulation Resistance Tester (Megohmmeter): Better known in the trade as a "megger," this is your go-to for checking the health of the winding insulation. It works by applying a high DC voltage to measure any leakage current, which tells you everything you need to know about the state of the insulation between the windings and the motor's frame. Just make sure the megger you're using can supply a test voltage appropriate for the motor's nameplate rating.
Getting Hands-On: Core Motor Winding Tests
Alright, you've got your safety procedures down and your tools are ready. Now it’s time to get to the heart of the matter and see what’s really going on inside that motor. Mastering these core winding tests is what separates a novice from a seasoned technician, allowing you to diagnose issues long before they turn into a catastrophic failure.
This infographic is a great visual reminder of the pre-test essentials. Lockout/Tagout, proper PPE, and calibrated tools aren't just boxes to tick—they're the foundation of every safe and accurate test you'll perform.
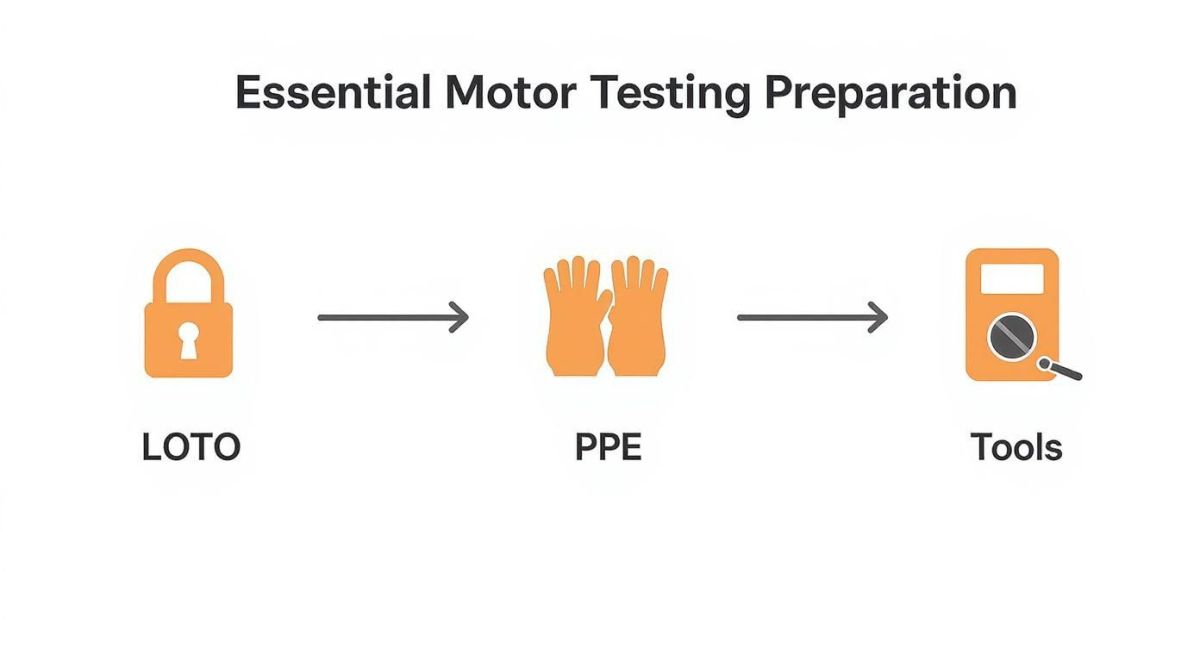
Starting every job with this simple workflow ensures you’re working safely and setting yourself up for reliable results.
Checking Winding Resistance with a DMM
First up is the winding resistance test. This is a quick and simple check, but it tells you a lot about the electrical balance of the motor’s phase windings. If the readings are off, you could be looking at a shorted turn or a dodgy connection, both of which are surefire recipes for motor failure down the track.
Grab your digital multimeter (DMM) and set it to a low ohms range. For a standard three-phase motor, you're going to take three separate readings:
- Phase A to Phase B (T1 to T2)
- Phase B to Phase C (T2 to T3)
- Phase C to Phase A (T3 to T1)
Don't get too hung up on the exact number you see on the screen; that can change based on the motor's size and even its temperature. What you’re really looking for is balance. The three readings should be almost identical. If you see a difference of more than 3-5% between any of them, that's a serious red flag.
Of course, the exact process can change depending on what you're working on. The testing procedures for different types of electric motors, such as DC vs AC fans, will have their own unique quirks to consider.
Verifying Insulation with a Megger Test
Next, we move on to the insulation resistance test, which most of us just call a "megger" test. This is probably the single most important test for predicting the long-term health of a motor. It’s all about checking how well the winding insulation is preventing electrical leakage to the motor's frame (ground) or between phases.
A megger test is like a pressure test for your motor's electrical system. It applies a high DC voltage to stress the insulation, revealing weak spots that a standard multimeter would miss entirely.
To do this, you'll connect one lead of your insulation resistance tester to the motor frame—find a clean, unpainted spot—and the other lead to each winding terminal one by one. You’ll also need to test between the phases themselves. This two-pronged approach checks for both winding-to-ground faults and phase-to-phase shorts. The fundamental principles here apply across all sorts of designs, even in advanced systems like https://evolutionflight.com/permanent-magnet-synchronous-motors/.
For low-voltage motors here in Australia, we follow established standards to ensure everything is safe and reliable. A good rule of thumb for insulation resistance is that the applied test voltage should match the motor's rating. For instance, a motor rated at 2,400 volts must show at least 2.4 megaohms (MΩ) of resistance.
In reality, a healthy motor on the factory floor will usually give you a reading from 5 MΩ to over 20 MΩ. Anything in that range tells you the insulation is in great shape.
Common Winding Test Results And What They Mean
Interpreting the numbers from your DMM and megger can feel a bit tricky at first. This table breaks down what you're likely to see and what it means for the motor's health.
| Test Type | Typical 'Good' Reading | Potential 'Bad' Reading | Likely Fault Indicated |
|---|---|---|---|
| Winding Resistance | Three balanced readings (within 3-5% of each other) | One or more readings are significantly different | Shorted windings or a high-resistance connection |
| Insulation to Ground | High resistance (e.g., >5 MΩ for a 415V motor) | Low or zero resistance reading | A ground fault; insulation has broken down |
| Phase-to-Phase Insulation | High resistance (often OL or "over limit" on the meter) | Low or zero resistance reading | A phase-to-phase short; insulation between windings has failed |
Think of this as your quick-reference guide when you're out in the field. After a few tests, these readings will become second nature, helping you pinpoint problems quickly and confidently.
Advanced Diagnostics for Deeper Insights
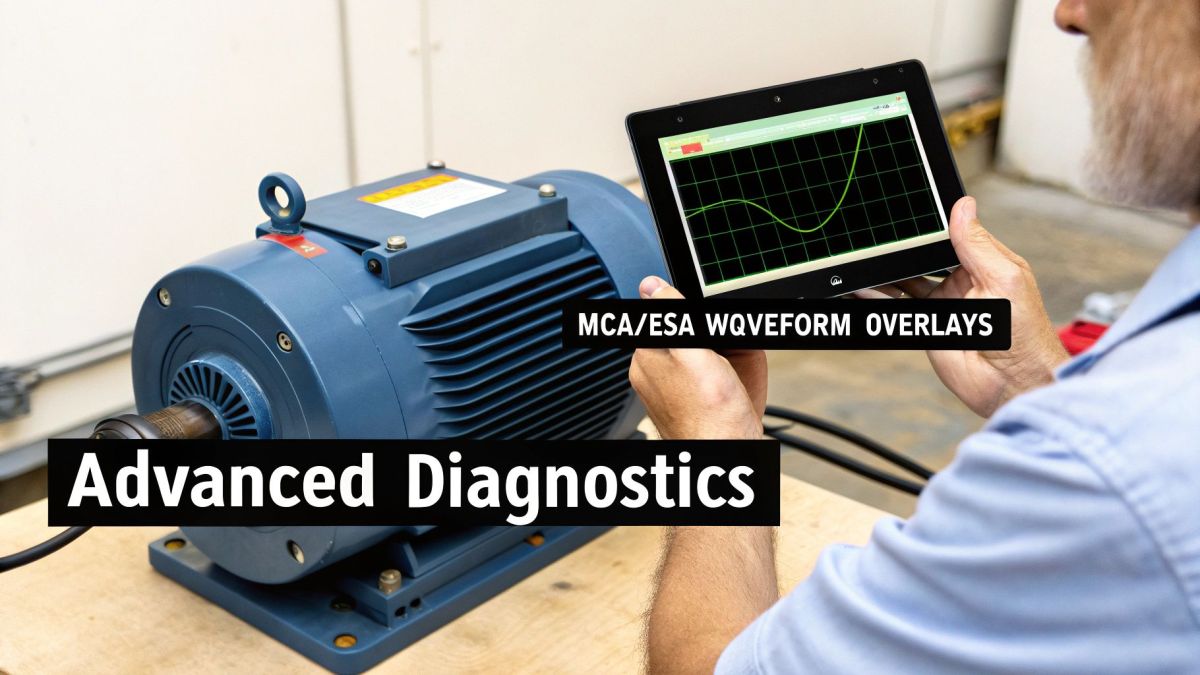
Sometimes, the standard resistance and insulation tests come back clear, but you've still got a gut feeling something isn't right. This is where you need to bring out the big guns. Advanced diagnostic methods let you see what's really going on inside a motor, revealing problems that your basic tools just can't pick up.
These techniques are your best shot at catching sneaky, developing faults long before they cause a catastrophic failure. For critical equipment where downtime is a dirty word, they're an absolute necessity.
Motor Circuit Analysis for Offline Fault Detection
Think of Motor Circuit Analysis (MCA) as a complete CT scan for your motor. It’s a powerful de-energised test, meaning you perform it while the motor is offline. The analyser sends low-voltage AC signals through the windings and then measures how they respond across a range of frequencies.
The sensitivity of this method is incredible; it spots issues a standard multimeter or megger would walk right past. It’s particularly good at identifying:
- Early-stage winding faults: It can pinpoint subtle turn-to-turn or coil-to-coil shorts that are just starting to develop.
- Rotor problems: MCA is great for detecting broken or cracked rotor bars, a common culprit behind mysterious vibrations and performance dips.
- Dodgy connections: It will find high-resistance connections or imbalances that can cause dangerous overheating.
By giving you such a detailed picture, MCA allows you to shift from a reactive "fix it when it breaks" approach to a genuinely predictive maintenance strategy. You get to schedule repairs on your terms, not in the middle of a crisis.
Electrical Signature Analysis for Real-Time Monitoring
Where MCA works on a switched-off motor, Electrical Signature Analysis (ESA) gets to work while the motor is running under its normal load. This is an "online" test that analyses the motor's voltage and current waveforms, looking for tiny electrical clues that point to developing issues. The way these waveforms are interpreted links back to the principles of https://evolutionflight.com/magnetic-field-sensing/, which helps explain the interplay between electrical and mechanical forces inside the machine.
ESA is like a doctor listening to a motor’s heartbeat while it’s running a marathon. It gives you real-time feedback on how the motor is handling actual operational stress, highlighting both electrical and mechanical faults.
This live monitoring is perfect for catching faults that only show up under specific load conditions. Here in Australia, heavy industries have seen huge benefits by combining offline and online testing. They use MCA as a key offline check for insulation integrity and early winding faults. Then, they use ESA to capture live data, diagnosing rotor defects, bearing issues, and inefficiencies on the fly.
This complementary approach has helped reduce unexpected motor failures in mining equipment by around 30%.
When you build these advanced methods into your maintenance routine, you gain a much deeper understanding of your equipment's health. It empowers you to make smarter, data-driven decisions that stop expensive failures in their tracks and keep your motors running longer.
From Data to Decisions: What Your Results Mean
Getting the numbers from your multimeter and megger is one thing. Knowing what to do with them is where the real skill comes in. This is about turning raw data into smart maintenance decisions that stop costly downtime before it ever happens.
Interpreting your test results correctly is the key to shifting from a reactive "fix-it-when-it-breaks" mindset to a truly predictive one. You're not just looking at a snapshot in time; you're trying to understand what these numbers are telling you about the motor's future health.
Reading the Signs: A Resistance Imbalance
Okay, let's walk through a common scenario. You've just finished a winding resistance test on a key three-phase motor. You jot down the readings: 0.52 ohms, 0.53 ohms, and 0.56 ohms.
The first two are almost identical, which is great. But that third reading sticks out. A quick calculation shows you’ve got an imbalance of around 5.5%.
Even if the motor seems to be running fine, that imbalance is a serious warning sign. Anything over 3-5% usually points to trouble brewing. It could be something as simple as a loose or corroded terminal connection, or something more sinister like an early-stage short between the turns in that winding.
Don't just log the numbers; analyse the trend. If last month's test showed a 1% imbalance and today it's over 5%, the fault is actively worsening. This isn't a "wait and see" situation; it's a signal to schedule a closer inspection and potential repair during the next planned shutdown.
If you ignore this, you're risking localised overheating that will cook the insulation and lead to total motor failure. Your first move should be to double-check all terminal connections for tightness and corrosion before you even think about condemning the winding itself.
The Grey Area of Insulation Readings
Now, let's talk about the megger test. You’re testing a 415V motor and get a reading of 12 MΩ. That’s well above the minimum safe value, so no immediate panic. But you check the maintenance log and see this motor usually sits comfortably above 100 MΩ.
So, is it a problem? Not a critical one, no. The motor is still safe to run.
But that massive drop is a clear sign that something’s changed. More often than not, the culprit is moisture or some other contaminant that has worked its way into the windings. This is where you can get ahead of the game.
Here’s how you can act proactively:
- Monitor: Instead of testing quarterly, bump this motor up to a monthly schedule to keep a close eye on the rate of decline.
- Investigate: Start looking for the source. Are the seals damaged? Is a conduit entry letting in water?
- Plan: Book the motor in for a proper clean and bake during the next maintenance window to drive out any moisture.
By acting on this borderline reading now, you avoid a future emergency where that 12 MΩ drops below the safety threshold, forcing an unplanned shutdown. This is the heart of predictive maintenance—using data trends from testing electric motor windings to make smart, forward-thinking decisions that keep the whole operation running without a hitch.
Common Questions About Motor Winding Tests
Even a seasoned tech can pause at the subtleties of winding tests. When you know the right questions, tests become second nature. Here are some queries that pop up again and again on the workshop floor.
One: How often should I test my motors? There’s no universal timetable—it boils down to each motor’s role and its surroundings.
- Quarterly checks offer peace of mind for machines whose failure would halt production.
- In clean, stable settings, an annual inspection often does the job.
Whatever rhythm you choose, consistency is key. Stick to your schedule and mark each check off your calendar.
Why Are My Test Results Inconsistent
Erratic readings can send you chasing shadows. Usually, it’s the environment or your process—not a failing motor.
Temperature swings are notorious. A cold-morning measurement rarely matches one taken after a hot shift. If you can’t control ambient heat, use a correction chart to normalise your figures.
Other usual suspects include:
- Poor Probe Connection: Even a thin film of corrosion adds resistance.
- Residual Voltage: Un-discharged energy in capacitors can skew readings and pose a safety risk.
- Nearby Electrical Noise: A running VFD or heavy machinery nearby can induce interference.
Pro Tip: Encounter a puzzling result? Run the test again. If it still looks off, it’s time to investigate the motor itself. Never judge a motor on a single, unverified reading.
Testing Single-Phase Vs Three-Phase Motors
The basics stay the same, but your focus shifts depending on the motor type.
For three-phase machines, you’re hunting for balance across all three windings. Spot an imbalance early and you’ll dodge unexpected downtime.
Single-phase units split into a main (run) winding and an auxiliary (start) winding. Test each winding separately for resistance and insulation. Expect the start winding to show higher resistance—that’s normal. Newcomers sometimes misread this as a fault, so keep it front of mind.
At Innoflight International, we understand the importance of reliable equipment in demanding industries. Our advanced unmanned aerial systems are engineered for precision and endurance, providing critical data for asset monitoring and infrastructure inspection. To discover the right drone solution for your operational needs, explore our platforms at evolutionflight.com.